Edit Panasonic AG-CX350 4K MOV in FCP X/Premiere Pro CC
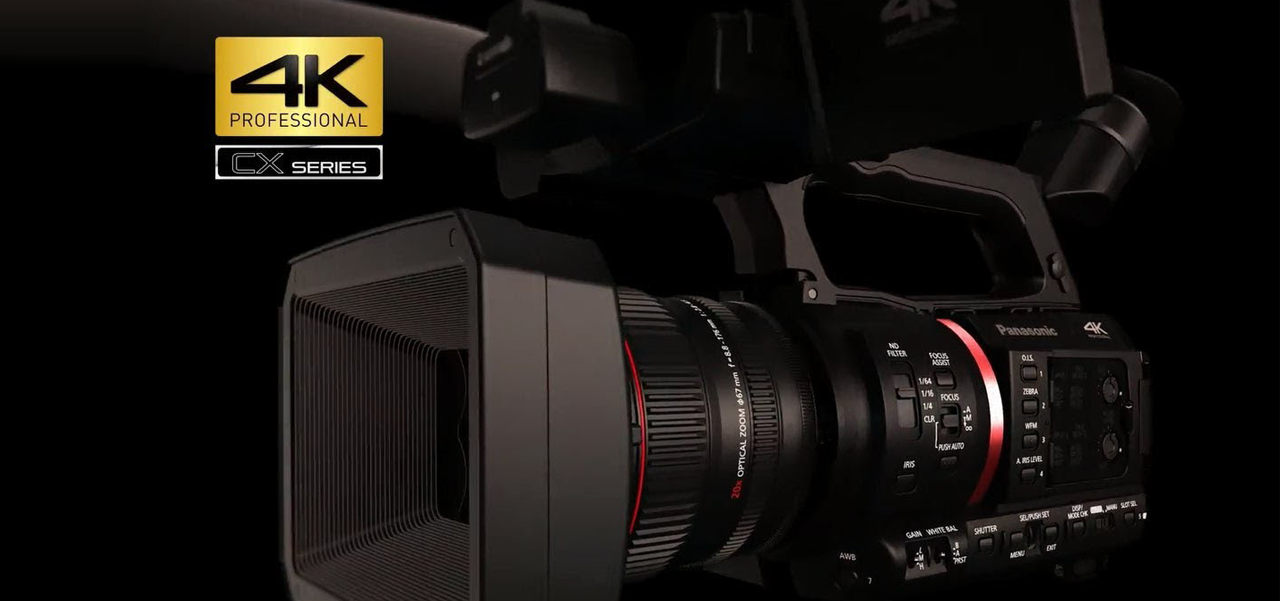
The AG-CX350 is capable of recording in various formats at different compression rates. The AG-CX350 also supports conventional AVCHD recording, And it will support the MXF P2 file format for broadcasting, enabling AVC-Intra or AVC-LongG recording. It can record UHD/60p videos in high-image-quality 10-bit on an SD memory card. It also features a new, high-efficiency HEVC codec. The AG-CX350 records HEVC MOV files that are highly compatible and easy to use.
If you recorded some wonderful 4K MOV videos with Panasonic AG-CX350, you may want to convert them for playing anytime you like or editing them to create your movie masterpiece. But if you want to edit 4K HEVC videos in FCP X or Premiere Pro CC, you may find that these .mov videos just gray out. The reason is that currently Panasonic AG-CX350 4K HEVC is not supported by Final Cut Pro and Adobe editing software. In order to import AG-CX350 footage to FCP or Premiere Pro, you need to convert HEVC codec to their friendly formats first. And that is something I want to cover with you on this particular page. Let’s take a little look at how you can go about transcoding Panasonic AG-CX350 to FCPX/Premiere Pro CC with ease.
To encode HEVC to FCPX/Premiere Pro CC supported format, Acrok Video Converter Ultimate for Mac is highly recommended. With the Mac 4K Video Converter, you can easily convert 4K HEVC videos to FCP X and Premiere Pro CC supported format and then directly import the converted video to your software for editing.
Free download 4K HEVC Converter here


4K Video Converter for Panasonic AG-CX350
- Transcode Panasonic AG-CX350 4K videos to editing software native format.
- Convert video to over 1000 formats, including MP4, AVI, WMV, FLV, MKV, MOV and more.
- Edit, enhance & personalize your video files.
- Rip and convert Blu-ray movies to any format for playing on TV, Smartphones, Tablets, etc.
No extra tools are required and the original quality of Panasonic AG-CX350 video will be kept. Below is a step-by-step guide on how to convert HEVC to edit in FCP X and Premiere Pro CC.
Part 1: How to convert Panasonic AG-CX350 4K videos for editing in FCP X?
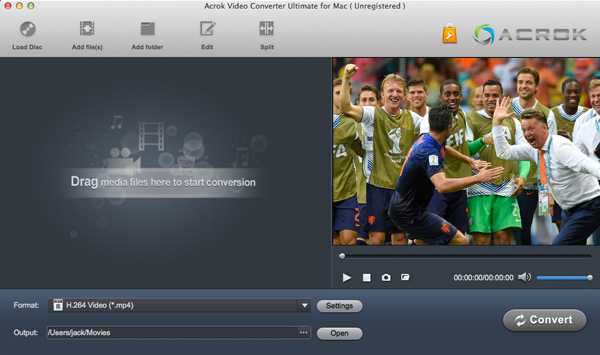
1. Launch Acrok Video Converter Ultimate for Mac as the best Mac 4K Video Covnerter and then click “Add Files” in order to add the .mov files you want to convert. You can add several files in one go as the converter supports batch conversion.
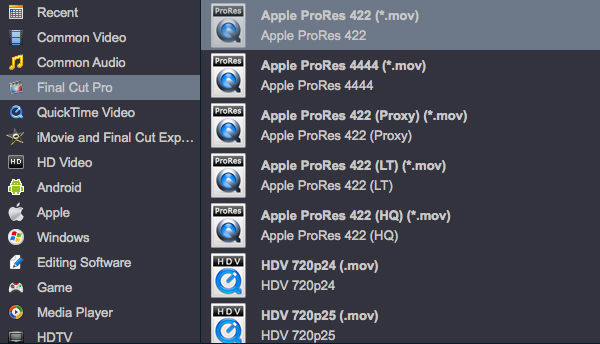
2. Click the drop-down arrow beside Format, then select “Final Cut Pro” to choose FCP X supported format like ProRes 422 MOV, ProRes 4444 MOV.
Tip: Adjust video and audio parameters, including the Bitrate of Video and Audio, the Codec of Video and Audio, Video Size, Sample Rate, Frame Rate, Audio Channels, etc., in the Profile Settings to get 4K files converted for working with FCP X smoothly. You’d better adjust original 4K video to HD quality.
3. Start Panasonic AG-CX350 video conversion. Click “Convert” button to start converting Panasonic AG-CX350 HEVC to ProRes on Mac.
Part 2: How to convert Panasonic AG-CX350 4K HEVC for Premiere Pro CC on Windows/Mac?
Step 1: Run the Acrok Video Converter Ultimate Windows/Mac as the 4K HEVC Converter. you just set up. Drag and drop the 4K MOV files to the Converter. You can also hit Add files button to import videos to the app.
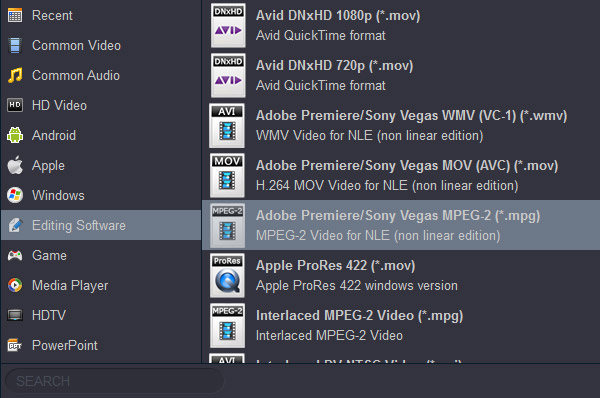
Step 2: Click on the Format box to get the dropdown menu. Select Adobe Premiere/Sony Vegas MPEG-2 (*.mpg) as output format.
If you want to join the imported clips into one for easy editing, please click “Setting” button then tick the box “Merge all files into one” on the window.
Step 3: Click the Convert button to start transcoding Panasonic AG-CX350 4K HEVC for Premiere Pro CC. After the process completes, click “Open” button to find the generated videos, and then you can transfer and edit the 4K video in Premiere Pro CC easily and quickly.